An Education in Canopies For Schools
When choosing a canopy, schools often base their decision on considerations including cost, aesthetics and safety. It is sometimes the case that when all factors are taken into account, what schools think they want isn’t necessarily what they actually need. With nearly 30 years’ experience in the field of canopy design and installation, Douglas Cox, Senior Contracts Manager at Clovis Canopies, provides some top tips to schools looking to invest in an eye-catching and space-creating canopy.
We’ve successfully designed, manufactured and installed more than 2,000 all-weather outdoor canopies and shelters for nursery, primary and secondary schools across the UK.
With each canopy custom-designed and built to meet the unique usage requirements and installation considerations of each school, we take great care to fully understand what each school is hoping to gain from having a canopy installed. It is often at this stage that we find that the selection they have made in terms of canopy style or material doesn’t best serve their long-term needs.
Style over substance
The sail shade is the perfect example of schools coming unstuck during the decision-making process. This canopy is a piece of material stretched between three posts, usually put over a sandpit or area of playground.
I must have replaced at least half a dozen of them in the last couple of years. They are relatively cheap and look a bit artier than the average canopy but they are just not practical for free-flow covered play when abutting a classroom.
‘Shade Sails’ tend not to be an all-weather shelter solution, which is what most schools are looking for. The cladding fabric is often made of a very fine mesh which can allow rainwater through and heavy snowfall can cause it to sag, which it never recovers from. As for providing classroom-to-canopy cover, a requirement of any school canopy installation, the sail shade just isn’t fit for purpose.
Polycarbonate or PVC?
We’ve found that people sometimes have preconceived ideas that a polycarbonate structure is better than fabric-based flame retardant PVC. One of the main reasons for this is that people assume that they’re more secure and safe. While we take great care to make each canopy as man-safe as is practical, there is no benefit either way with regards to safety. To prevent unauthorised access and people climbing them warning signs are placed in an appropriate position.
This said, we find that the flame retardant PVC tends to be more of a deterrent to vandals because of its supple structure. In short, people are less confident scaling it even though the reality is that you are no more likely to fall through PVC fabric than a polycarbonate sheet clad roof.
In terms of cost, ‘tensioned’ flame retardant PVC also has the upper hand as it is up to 20 per cent cheaper than the same canopy clad with polycarbonate, also PVC is quieter when it rains because it’s softer material. I think that PVC clad canopies can look impressive too, as they are more in-keeping with the modern tent-style structures popular in shopping centres and tend to look less busy than polycarbonate which has glazing bars and extra purlins.
However, it is fair to say that one advantage with polycarbonate is it offers slightly better light levels.
Choose your design carefully
When it comes to style, schools are seldom insistent on a particular look and are very open to be guided. Often it’s the architects who push forward with a given style, which can often be something conceptual that isn’t really cost-effective or practical.
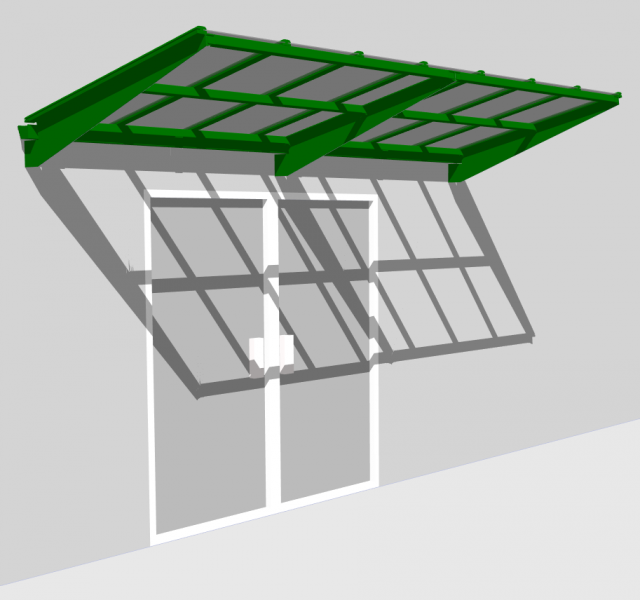
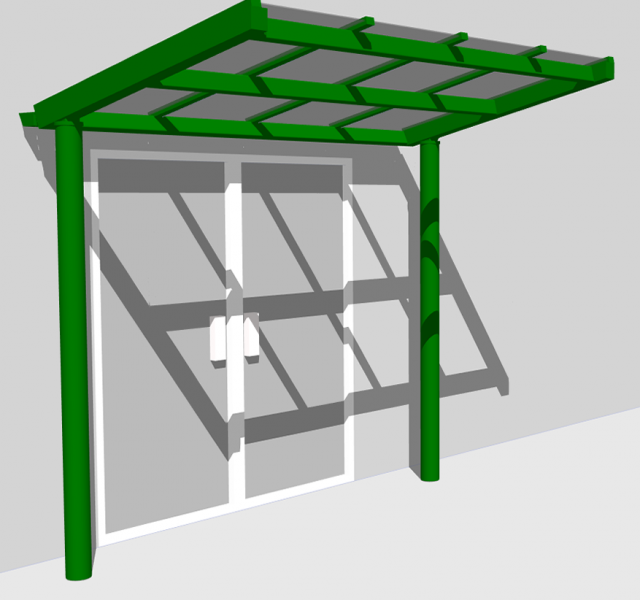
For instance, if they’ve designed a mono-pitch or lean-to canopy they might have the high side open to the elements. But rain and sunrays don’t always fall in straight lines, therefore the higher you go on the eaves, the more ingress you let into the canopy. In cases like this I usually try to persuade them to do the opposite; have the low side on the outside to reduce ingress elements into the canopy.
Wider can mean cheaper when it comes to canopies
As well as height, width is equally important when specifying a canopy. Schools might think two or three metres is sufficient width, but if you take into account ingress from rain it might leave them with only one or two metres of dry space. Schools need to be aware that fixtures such as gutters and columns which run the length of a canopy cost the same regardless of width.
Therefore the wider you go, although the unit cost might increase marginally, in relative terms the square metre price plummets. When schools are made aware of this they will invariably (if it can be accommodated) choose a wider option. Another misconception surrounds post protectors. Some schools will insist they have to be wrapped around all the canopy’s supporting columns for health and safety reasons, but then you look around the playground and there will be all sorts of unprotected items such as trees, benches and play equipment.
Post protectors are made of the spongy material (as used for rugby posts) and schools seem to see them as a requirement. But protectors cost around £75 each, so if your canopy has 10 posts, that’s £750 which could have been spent on books or towards other items within the canopy. Unless asked otherwise, Clovis always use round posts, which are far more tactile for children.
Cost effective tips on canopy installation
As many schools are working to a relatively tight budget, there are ways of saving money when installing a canopy. Most schools will benefit from a site visit prior to making a decision on a canopy. It’s cost effective for both us and the school. During a free no-obligation site visit we can appraise their requirements and options.
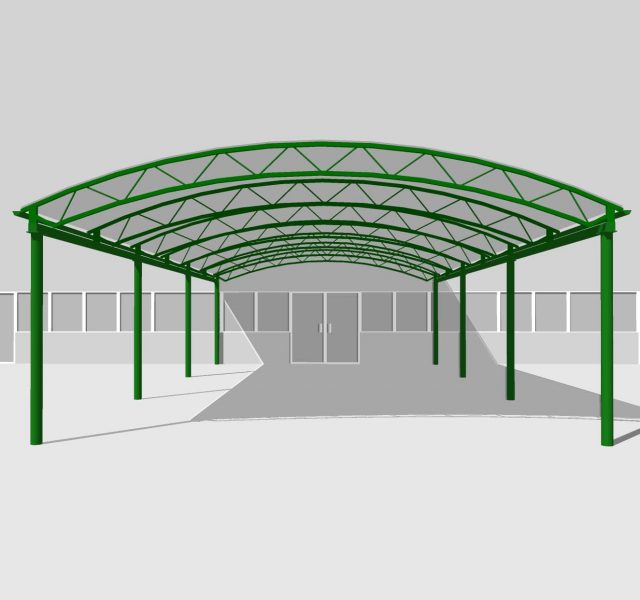
Where possible we will supply 3D visuals to illustrate what they will be getting. If we end up quoting for something which turns out to be impractical it requires another visit to the school which adds to time and associated costs.
We always look to the most cost-effective way of installing a canopy, but good value for money doesn’t mean cheap. Phasing a canopy’s installation will add unnecessary cost to a project. However not all schools have enough of a budget to have the whole canopy installed in one go, so they will ask for it to be designed so it can be extended in the future.
For example, if they’re having a 60-metre canopy built 20 metres at a time, it will mean three site visits with all the incumbent construction and the whole project costing up to 20 per cent more than it might have done if installed as one project
Disastrous consequences of compromising installation integrity
Although school budget needs must be met, corners must never be cut when it comes to the design and installation of a canopy. When schools ask, “Can you bolt the canopy to the side of the building?” I’m reminded of a few incidents in the past where we’ve been called to replace canopies that have been installed in that very fashion.
Design and structural integrity is everything when it comes to canopies, ensuring it’s physically possible to be erected and complies with building regulations. A few years ago we visited a school in Sussex where a canopy that had been bolted from the back and projected around five metres out without support and it collapsed under heavy snow and ripped the walls from the building.
As I always say, when it comes to the design and installation of school canopies, “We want to sleep at night and so does the client”.


